
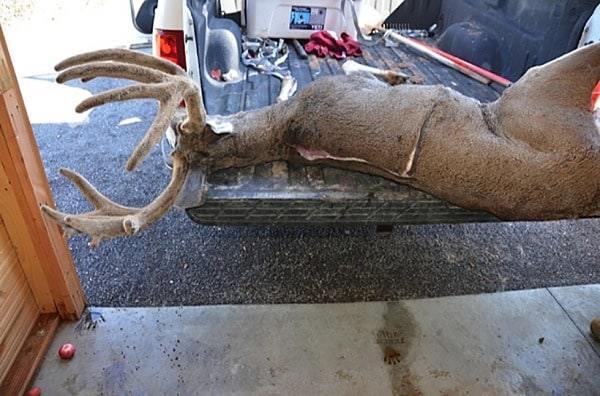
Deer hunting doesn’t end as soon as the buck hits the ground. When you know how to hunt a deer, you also learn how to cape a deer. But a lot of hunters don’t understand this because they are simply too scared of caping the animal.
As for me, I was very nervous about using a blade around my buck and ruining the meat. And this is something that you don’t want to do before taking your trophy to the taxidermist.
So how do you cape a deer? And how do you ensure that you don’t cut too much of the hideaway? You must know the answer to these questions if you want to provide your taxidermist with a head that he or she will love. After all, you do want your trophy-sized mount to look perfect, don’t you? So let’s begin.
How to cape a deer: step by step instructions
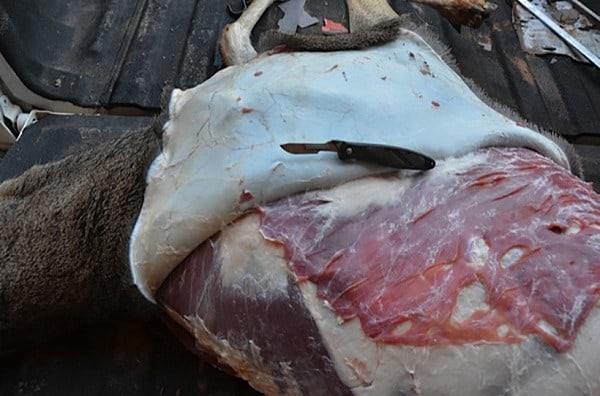
1. Make the First Cut
Every good cape must be started off with 3 simple cuts. Let me explain each one of them in detail.
For the initial cut, you need to first make a full circle around your buck. You can start at the center portion of the animal’s ribs. Move from left to right circling all around the deer’s back. Make sure that you begin and end the cut in the same place.
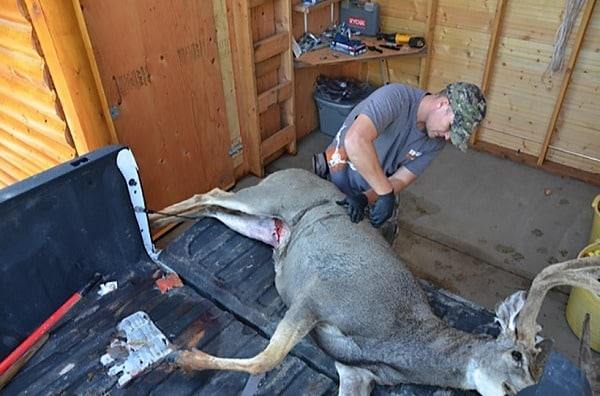
I had a habit of cutting the cape a little too short. So please don’t make that mistake. Be generous with your first cut.
2.Make the Second Cut
In this guide of how to cape a deer, the second cut is very important. So it must be carried out properly. The second cut should start from between the animal’s ears and extend along the dark line that reaches the backside of the neck.
You have to make sure that you’re using a sharp knife. Because the second cut travels further down. It needs to go straight to the middle of the buck’s back to join the first cut.
This way, the incision along the back meets the middle body cut.
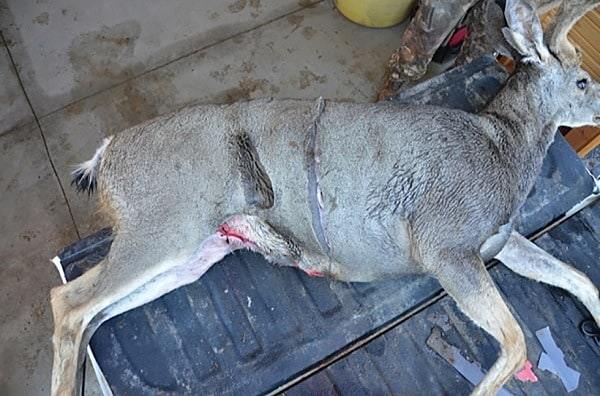
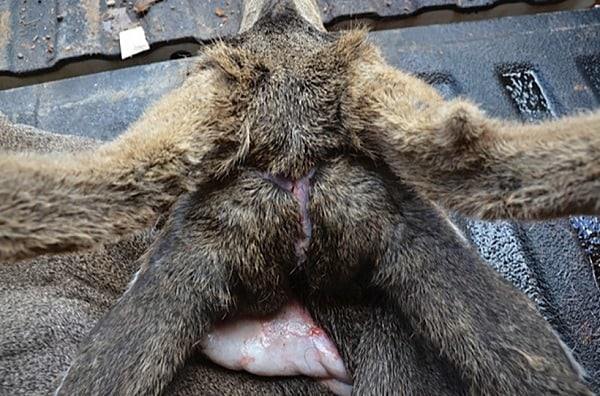
3.Make the Third Cut
The third cut should create a ring around the buck’s front legs. The skin from the knee up should not be caped. It should be left on the animal like a sock.
And whatever you do don’t make the mistake of cutting through the center of the deer’s armpit. This normally tends to destroy your cape.
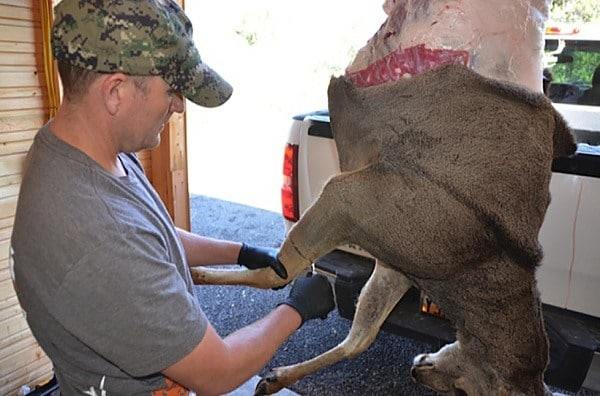
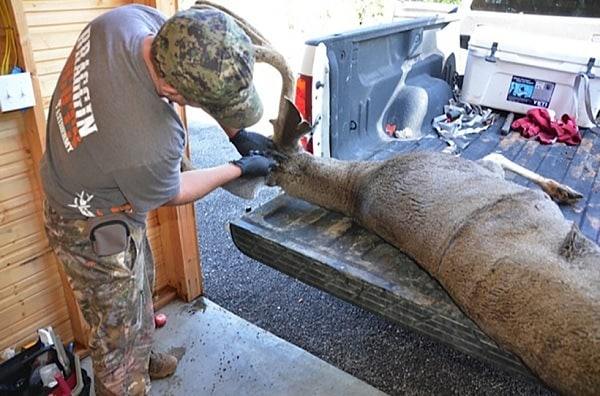
4.Skin the Deer
Now it’s time to skin the deer. But before you do that, just keep in mind a few things. The meat of the animal, any animal, as a matter of fact, contains heat. So it’s very important to let the meat stay on the buck and not the hide. The heat generated by the meat tends to ruin the cape. When the cape is attached with a 2-inch steak, the hair of the bucks falls out and creates a slip spot.
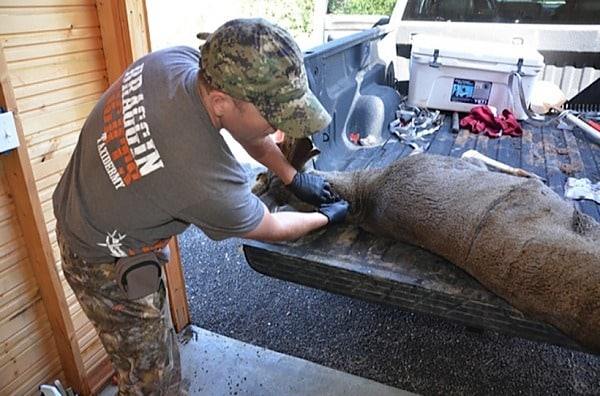
5.Caping the Deer Head
This part of the procedure provides the correct answer to the question, how to cape deer skull?
Caping a deer head begins at the incision that you made on the backside of the deer’s neck. You will easily be able to spot a Y that begins right in between the animal’s ears and travels to its each antler. Now use your sharp knife to begin your cut from each antler’s base till the Y. Your goal should be to create a Y-shaped incision.
Continue the skinning around the pedicle of each antler. Then you will easily be able to skin the hide off the buck’s skull. And this is exactly how to cape deer skull.
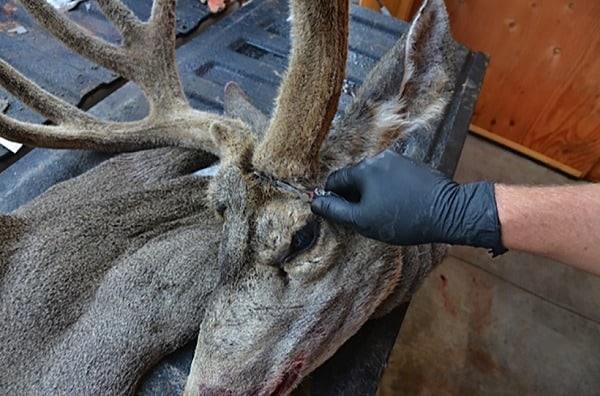
6.Caping the Eyes of the Deer
When learning to cape a deer, it is important to remember not to cut the back corner of the deer’s eyes. What you need to be doing is putting your finger in the back corner of the buck’s eye. This ensures that you get each and every part of the eye, including the deer’s eyelashes and eyelid. Now you can pull them all out of the deer’s skull while carrying out the skinning process.
The incisions should be made right beside the skull and not the skin. Create the cut by pulling away your finger from inside the buck’s eyelid.
As far as the front corners of the eyes are concerned, you need to remove the preorbital glands found in each corner during the skinning process.
7.Caping the Mouth of the Deer
Once those glands have been removed, it’s time to turn the deer so his nose is facing you. Now what you need to do is skin all the way down to the corner of the buck’s mouth. Don’t forget to cut the lip in such a way that at least 3/4th inch of the lip remains attached to the cape.
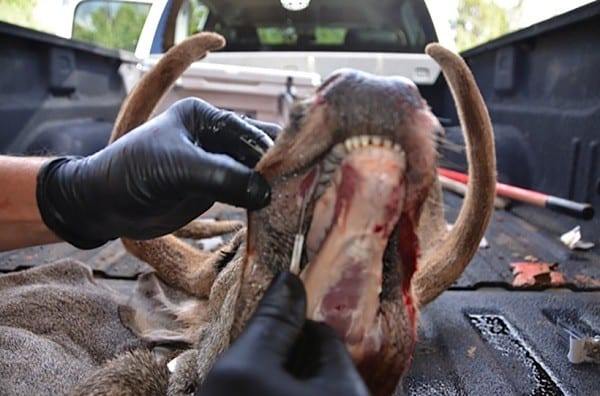
Then continue the incision till the corner of the mouth. It is important to cut through the gum as well. This procedure must be repeated for both the bottom and top jaw.
8.Caping the Nose of the Deer
The last step in this guide is skinning from the eyes of the buck all the way till the nose. While skinning along the bottom, you need to ensure that you take the hide off the deer’s jaw.
Once you hit the nose pad of the deer, slice a 90-degree cut into the bone till the top region of the jawbone. After doing this, you will easily be able to peel it off. It is very important to make the 90-degree cut if you don’t want to slice off the deer’s nose pad.
And that’s a wrap!
You have finally learned how to cape a deer. Just remember that once your cape has been detached from the deer, you don’t need to take the entire skull. Just cut through the plate located on top of the skull. This is the region where the antlers are joined to the body. And it is for this particular procedure that you will need a portable saw.
You can begin to cool the cape for at least an hour before taking it to the taxidermist.
There’s a helpful video that shows a different technique of caping a deer:
How to Cape a Whitetail Deer for Shoulder Mount?
I hope you enjoyed reading the article. And more importantly, I hope you learned how to properly cape a deer without ruining the meat.
Was the content informative? Do you have any helpful tips to offer?
Please feel free to leave all your tips and feedback in the comments section below.
You might also like: